| Installation |
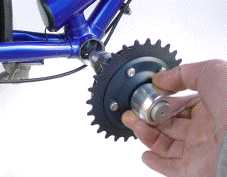 |
Slide the speed-drive into the empty bottom bracket shell and tighten it with a nut on the left side. That's all! speed-drive doesn't need the threads. It fits into bottom brackets with a diameter between 33.6 and 34.5mm (most bikes have bottom brackets of this size). |
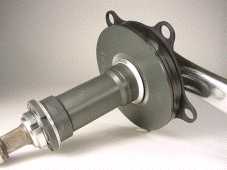 |
speed-drive is centered by a pair of conical rings. speed-drive always comes without a torque lever and therefore needs a bottom bracket shell, which is chamfered. |
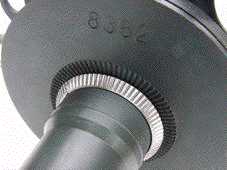 |
Use aluminum cones for steel bottom brackets, but a knurled steel cone on the right side for aluminum bottom brackets. Do not install speed-drive into thin aluminum bottom bracket
shells with wall thickness of less than 3mm. The conical rings exert
considerable force that could damage the shell. |
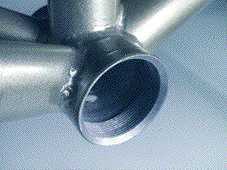 |
Chamfering the shell to an outer diameter of 39 - 39.5mm |
 |
The milling cutter is available as an accessory.
In most countries, you can hire this tool. Please ask us. |
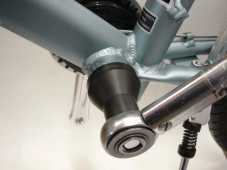 |
To tighten the lockring, please use the box spanner of tool set 2.
It's the easiest way to tighten it with the high torque of 100 lb ft, which is required to hold the gear housing against the reaction torque. The spanner is guided by the spindle, and provides a safe tightening without the danger of slipping. |
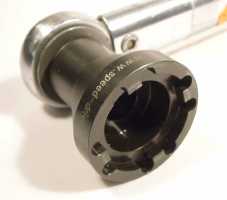 |
This box spanner can be combined with a 1/2" torque wrench. |
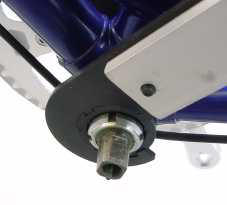 |
If you use the C-spanner of tool set 1, please combine it with an
extension arm of about 350mm.
Please note, that speed-drive uses a right hand thread of the lockring. |
| Are you looking for even more detailled infos?
Just download our manual (pdf-file): speed-drive manual english |
|